What do you need to know in this part of the game? What bosses and enemies will you encounter? Will there be loot to grind for? This guide will show you what to expect in Terraria’s Hardmode!
Hardmode Overview
Hardmode is an irreversible mode in the game in which enemies grow stronger. Activating this will also grant you the rest of what Terraria can offer. You’ll be able to explore new Biomes with brand-new loot to discover. This is the game’s next battle challenge with new bosses and foes!
Bosses are abundant in this mode, as you’ll be granted many challenging foes to prepare for the ultimate Moon Lord fight! But before you fight these enemies, you’ll need to match their firepower. Hardmode grants you more powerful gear, be it Armor, weapons, or Accessories. That also means you’ll have to grind for these items, which will be the bulk of what you’ll need to do to progress.
This guide has much to discuss regarding content, so buckle up and prepare for what’s to come!
Biomes
Hardmode offers new Biomes to your world, which switches up the variety in Terraria. These map sections will grant new enemies and materials for crafting the best equipment for upcoming boss fights. These are what to expect when activating Hardmode.
Underground Crimson/Corruption
In addition to Pre-Hardmode’s Crimson or Corruption Biomes, Hardmode will add an Underground layer to the pre-existing section. These grants new enemies for you to challenge and farm for materials.
In addition to these Underground Biomes, the Crimson or Corruption sections of the map will spread aggressively toward uninfected parts of the map. Dealing with this is essential as your safety is on the line. The spread will cause an infected map biome to spawn Crimson or Corruption enemies, so keep that in mind.
Hallow Biome
The Hallow is a bright and fun Biome, but only if you look at it. There is no time to sight-see the rainbow-colored background as this map section is full of deadly enemies. Although it inspires fun times and friendship with the Pixies and Unicorns, they’ll demolish you with brute force if you don’t fight back. This Biome also allows you to summon the Queen Slime for those who are daring enough to face a boss in early Hardmode.
Ores and Bars
Ores are essential to the progression of Terraria, so exploring to find the best is essential. Hardmode will provide brand-new materials to mine to match the demand for powerful equipment. But there is a process you need to accomplish to spawn these ores. You’ll need a Pwnhammer or a stronger Hardmode hammer to destroy Altars. This, in turn, will spawn ores.
When you destroy the first three altars, it will spawn these ores at random:
- Cobalt or Palladium ores
- Mythril or Orichalcum ores
- Adamantite or Titanium ores
Once you’ve spawned one type of ore, you can’t spawn its counterpart in the same world.
Chlorophyte
Another one that is spawned right after Hardmode is Chlorophyte ores. Apart from being a material for Armor and weapons, this is also a core ingredient for Chlorophyte Bullets. The uniqueness of this material is that it can convert mud blocks into ores, which can be utilized by “planting” these underground to farm them.
Hallowed Bars
Mechanical bosses are challenging to beat, but they grant you great items to power up! One of the drops for every Mechanical boss is Hallowed bars. These are used for weapons and the Hallowed Armor set. Keep an eye out for this bar, as it can guarantee a fighting chance for future bosses.
Luminite
Endgame has the perks of powerful equipment, but that equipment may need some Luminite. This is material dropped by the Moon Lord to craft endgame items. Being at the end of the game, most of these items are achievements of how far you’ve come since the beginning. But it won’t hurt to craft these items for bragging rights.
Bosses
For Hardmode, Terraria offers its players challenging bosses to defeat! These are crucial for the progression, as the loot you receive will boost your power level to new heights. The best way to prepare for these enemies is to know which one to face first.
Queen Slime
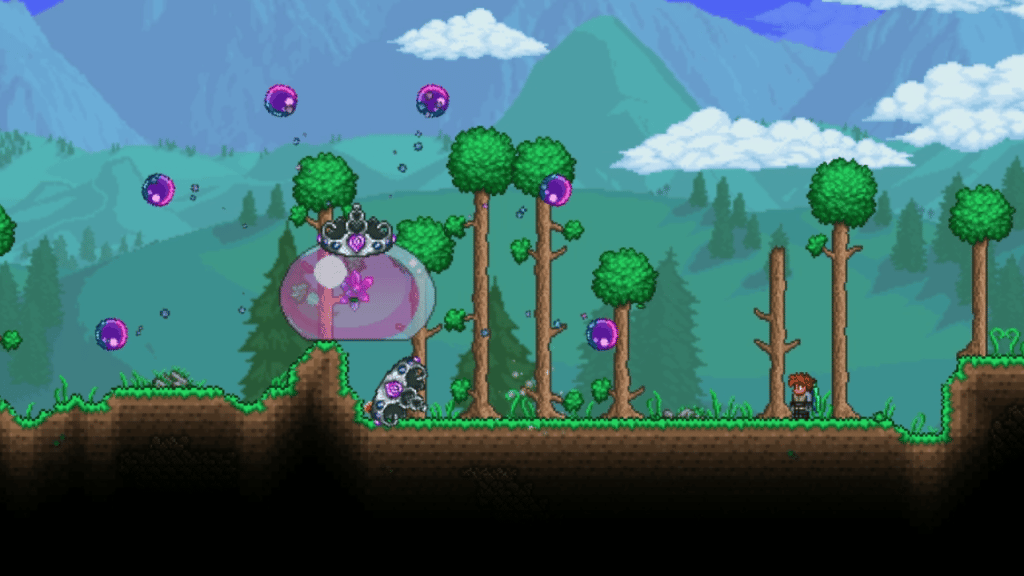
Similar to King Slime, this is his Hardmode counterpart. As the mode suggests, this is a more difficult fight. Its attacks are similar to its predecessor, jumping around and in addition to attacking with projectiles. Careful not to ignore the slimes she’ll spawn when you attack her. The second phase of the fight will surprise you! Unlike King Slime, the Queen will grow wings and boost its mobility to a new level.
This boss is an optional fight, but it’s a great way to dip your toes in Hardmode bosses.
These are what to expect from her defeat:
| Item | Drop Rate |
| Greater Healing Potion (5 – 15) | 100% |
| Queen Slime Trophy | 10% |
| Treasure Bag (Expert and Master Mode Contents) Volatile Gelatin Sparkle Slime Balloon Queen Slime Mask Gelatinous Pillion Hook of Dissonance Blade Staff | 100% 100% 100% 14.29% 50% 50% 33% |
| Crystal Assassin Hood | 67% |
| Crystal Assassin Shirt | 67% |
| Crystal Assassin Pants | 67% |
| Gold Coin (6) | 100% |
| Regal Delicacy (Master Mode) | 25% |
| Queen Slime Relic (Master Mode) | 100% |
The Twins
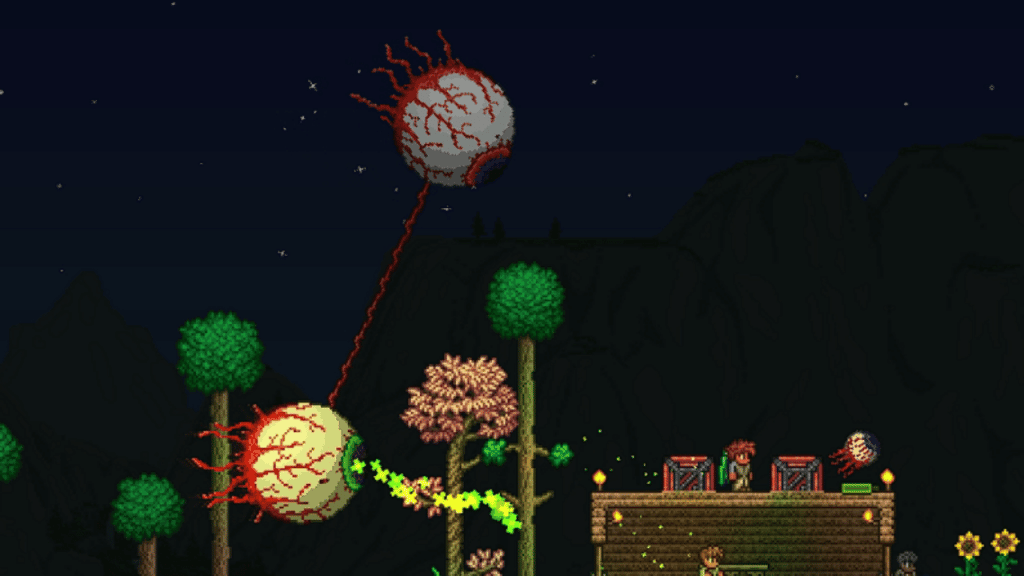
Mechanical bosses are more powerful versions of previous bosses in Prehardmode, and The Twins are exactly that. Instead of fighting one eye, you’ll be facing off with two! Retinizer and Spazmatism are formidable enemies as they have unique attacks to watch. Retinizer fires high-power lasers, while Spazmatism shoots fireballs.
Like all bosses in Hardmode, this foe has a second phase. When they’re low enough, they grow powerful and change their attacks. Retinizer transforms into a mechanical eye with a laser canon for its pupil. At the same time, Spazmatism will turn into a mechanical version of Eye of Chtlulhu’s second phase.
Slaying this foe is a testament to your progress, but this is not the end of the mechanical bosses!
Beating this boss grants you these items:
| Item | Drop Rate |
| Greater Healing Potion (5 – 15) | 100% |
| Treasure Bag (Expert and Master Mode Contents) Mechanical Wheel Piece Twins Mask Soul of Sight (25 – 40) Hallowed Bars (15 – 30) Gold (12) | 100% 100% 14.29% 100% 100% 100% |
| Pair of Eyeballs (Master Mode) | 25% |
| Twins Relic (Master Mode) | 100% |
The Destroyer
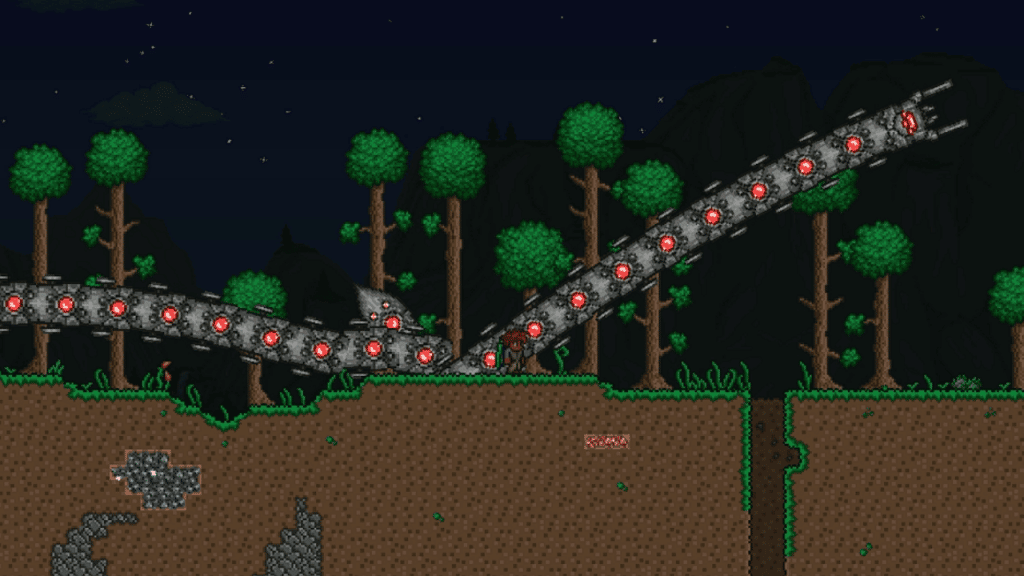
Although this boss is the mechanical version of the Eater of Worlds, it’s far from its fleshy counterpart. This enemy does not split; instead, it has drones that will spawn if a segment is destroyed. It’s hard enough to deal with a long enemy trying to kill you, let alone having drones shoot lasers when a segment is killed!
Slaying him will score you these loots:
| Item | Drop Rate |
| Greater Healing Potion (5 – 15) | 100% |
| Destroyer Trophy | 10% |
| Treasure Bag (Expert and Master Mode Contents) Mechanical Wagon Piece Destroyer Mask Soul of Might (25 – 40) Hallowed Bars (15 – 30) Gold (12) | 100% 100% 100% 14.29% 100%% 100% |
| Deactivated Probe (Master Mode) | 25% |
| Destroyer Relic (Master Mode) | 100% |
Skeletron Prime
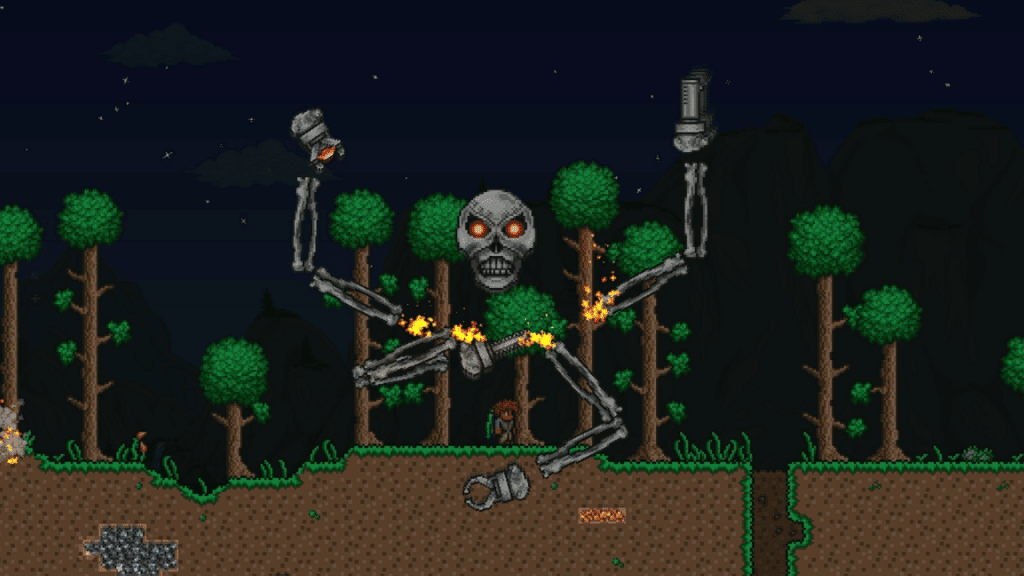
The last of the mechanical bosses, Skeletron Prime, rages to decimate any unprepared foe. Like Skeletron, But instead of two limbs, he has four new weapons to annihilate you! Like its counterpart, killing its limbs is not required to defeat the boss, but it would certainly help. Its weapons are Prime Canon, Prime Saw, Prime Vice, and Prime Laser.
As per usual, these are its drops:
| Item | Drop Rate |
| Greater Healing Potion (5 – 15) | 100% |
| Skeletron Prime Trophy | 10% |
| Treasure Bag (Expert and Master Mode Contents) Mechanical Wagon Piece Skeletron Prime Mask Mask Soul of Fright (25 – 40) Hallowed Bars (15 – 30) Gold (12) | 100% 100% 14.29% 100% 100% 100% |
| Robotic Skull (Master Mode) | 25% |
| Skeletron Prime Relic (Master Mode) | 100% |
Plantera
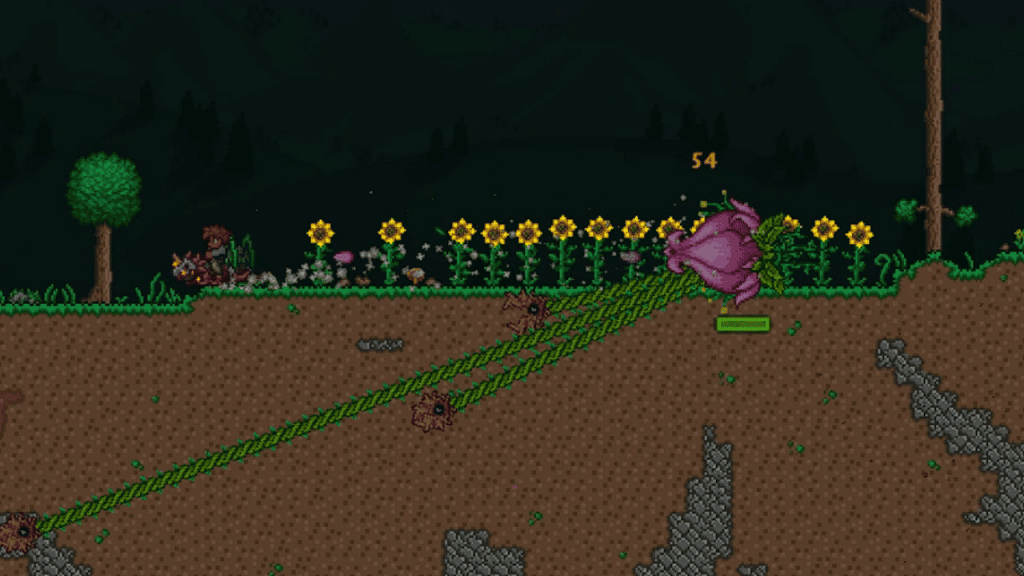
Plantera is now available to fight after you’ve defeated the mechanical bosses, so it’s high time you explore the jungle for its wrath! This enemy is the next step in progressing the game, so be prepared for a nasty fight!
Plantera’s first phase involves shooting poisonous projectiles at you while moving across the area. Its second phase will cause it to transform and spawn eight mouths with tentacles in an attempt to kill you. Killing these makes the fight easier, although not required.
Expect these flowery drops when it’s defeated:
| Item | Drop Rate |
| Greater Healing Potion (5 – 15) | 100% |
| Plantera Trophy | 10% |
| Treasure Bag (Expert and Master Mode Contents) Spore Sac Plantera Mask Temple Key Grenade Launcher Venus Magnum Nettle Burst Leaf Blower Flower Pow Wasp Gun Seedler Seedling The Axe Pygmy Staff Thorn Hook Gold Coin (15) | 100% 100% 14.29% 100% 14.29% 14.29% 14.29% 142.9% 14.29% 14.29% 14.29% 6.67% 5% 50% 10% 100% |
| Plantera Seedling (Master Mode) | 25% |
| Plantera Relic (Master Mode) | 100% |
Golem
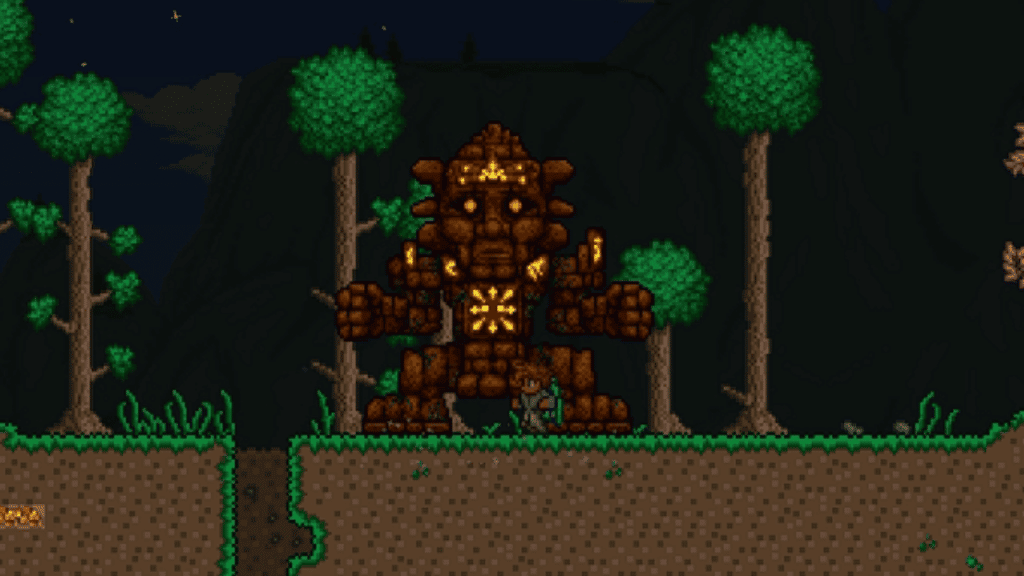
A rocky opponent awaits in the Jungle Temple after Plantera. Golem is the next boss to beat for the progression of Terraria. This blocky foe is ruthless if you don’t have the right space to fight it, so be sure to clear some area to build an arena.
The first phase involves the boss jumping around to hit you. It will fire fireballs upon you while his fists fly around the area to kill you. Its fists can travel through blocks, though they have limited range. Once its head falls below half health, its eyes will start shooting lasers that can travel through blocks; it also fires more frequently as it gets damaged.
Once Golem’s head has taken full damage, it’ll detach itself and becomes invincible. It can also pass through blocks, making the fight more difficult. The focus on damage is now on the body, which you must defeat to finish your duel.
Loot is to be expected, and these are what it drops:
| Item | Drop Rate |
| Greater Healing Potion (5 – 15) | 100% |
| Plantera Trophy | 10% |
| Treasure Bag (Expert and Master Mode Contents) Shiny Stone Golem Mask Picksaw Stynger Possessed Hatchet Sun Stone Eye of Golem Picksaw Heat Ray Staff of Earth Golem Fist Beetle Husk Gold Coin (15) | 100% 100% 14.29% 33.33% 14.29% 14.29% 14.29 14.29% 12.5% 14.29% 14.29% 14.29% 100% 100% |
| Guardian Golem (Master Mode) | 25% |
| Golem Relic (Master Mode) | 100% |
Duke Fishron
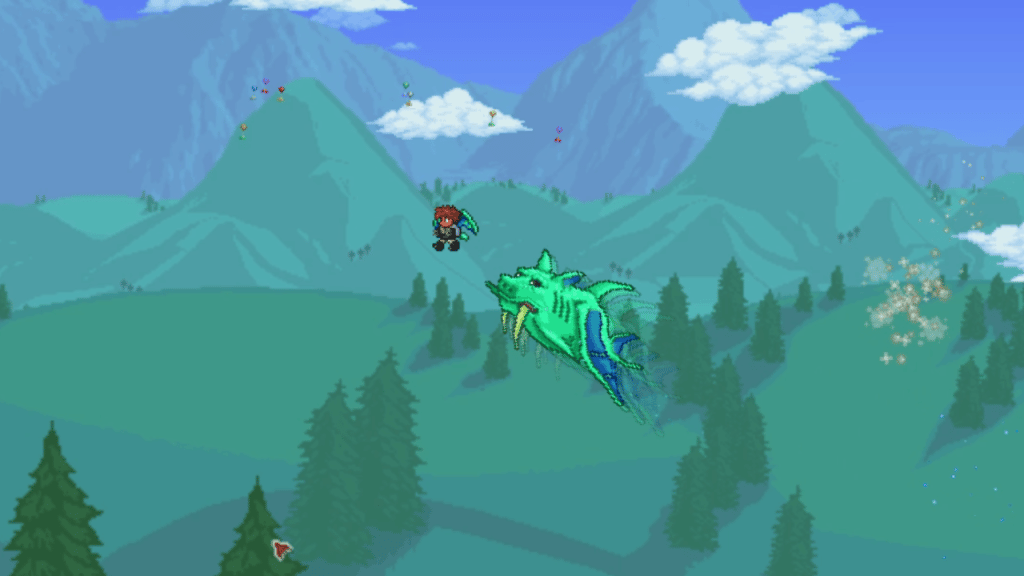
The duke of the ocean biome, Fishron, is a beast no one should take lightly. This boss is optional, but defeating it will grant you important equipment for the upcoming fights. Although this boss is available after Hardmode is initiated, defeating it post-Golem is the safest way to fight it.
Duke Fishron’s first form consists of flying to hit you exactly five times before using one or two attacks. First, it will blow about 20 detonating bubbles that explode on contact (it can also be destroyed). In the second attack, the boss summons Sharkrons that attack with Sharknadoes that also spawn other Sharkrons.
The Second form causes the boss to be more aggressive at the expense of lowering its armor. This will happen when its health is below half, and it’ll be stationary to transform.
Its third form significantly changes its attack patterns when it falls below 15% health. The background will be covered in fog while making the boss invisible. Though you can’t see its body, you can still see its glowing eyes.
Slaying the duke will drop the following:
| Item | Drop Rate |
| Greater Healing Potion (5 – 15) | 100% |
| Duke Fishron Trophy | 10% |
| Treasure Bag (Expert and Master Mode Contents) Shrimpy Truffle Duke Fishron Mask Bubble Gun Flairon Razorblade Typhoon Tempest Staff Tsunami Fishron Wings Gold Coin (15) | 100% 100% 14.29% 20% 20% 20% 20% 20% 10% 100% |
| Pork of Sea (Master Mode) | 25% |
| Duke Fishron Relic (Master Mode) | 100% |
Lunatic Cultist
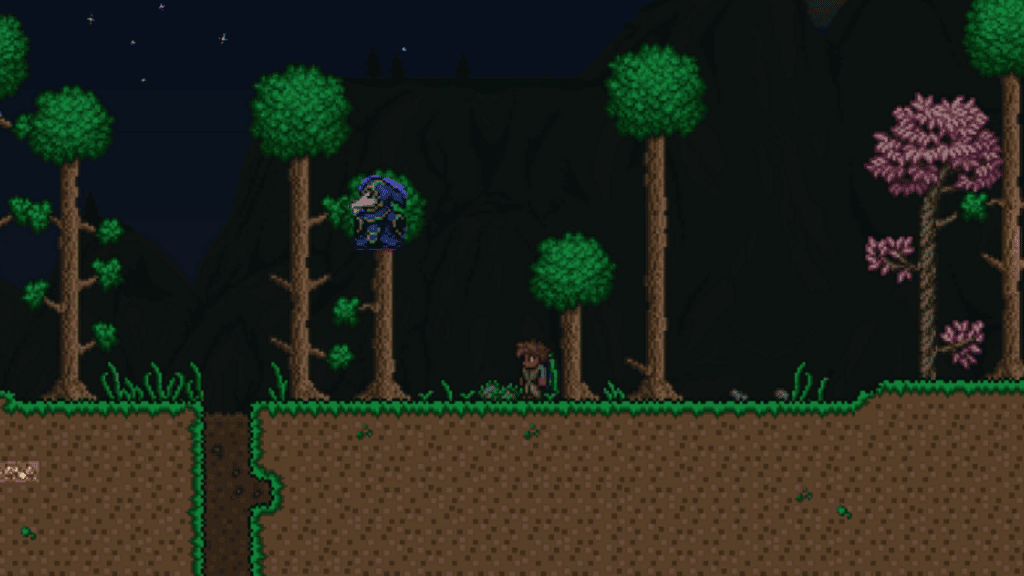
The precursor to the Celestial Pillars, the Lunatic Cultist, must be slain to progress. This opponent, unlike other bosses, has one of the widest variety of attacks with its patterns. This guide will drag on if we discuss every attack, so look out for future guides discussing this Lunatic.
Some notes to take before facing the Cultist, you must have the Dungeon unlocked and have Skeletron Defeated. Only then can you see the Cultists worshiping in the same place. Killing them will cause the boss to be summoned; best of luck once it appears.
The Cultist will drop the following:
| Item | Drop Rate |
| Ancient Manipulator | 100% |
| Lunatic Cultist Mask | 14.29 |
| Greater Healing Potion (5 – 15) | 10% |
| Tablet of Fragment (Master Mode) | 25% |
| Lunatic Cultist Relic (Master Mode) | 100% |
Moon Lord
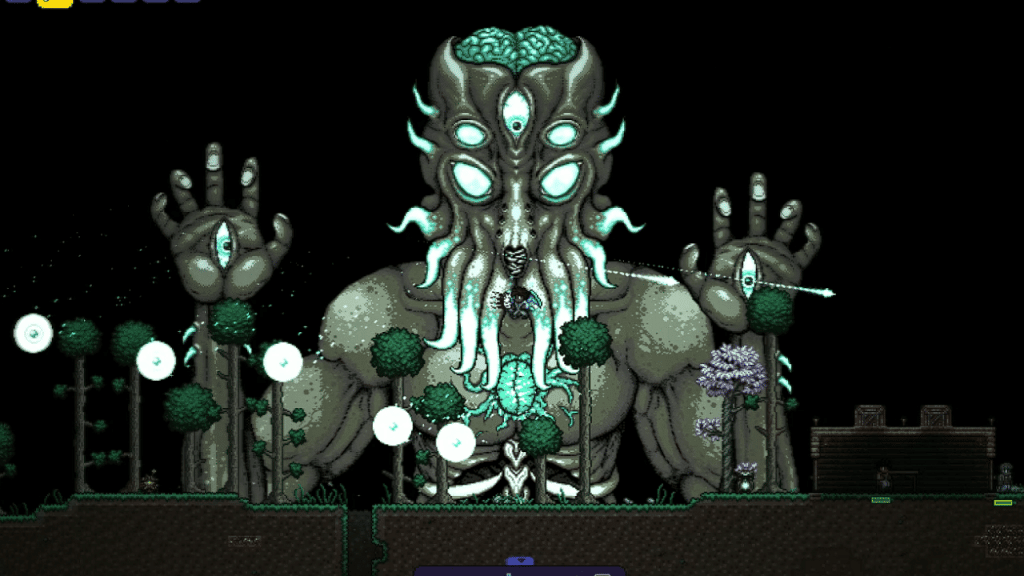
The apex of Terraria, the Moon Lord, is upon us! The final foe in the game’s catalog of unique bosses, this is what you’ve been grinding for. This enemy is what to expect when you’ve defeated all prerequisite bosses and all the Celestial Pillars. He’ll show no mercy to you mortals.
To fully grasp what you are about to face, this guide will help with anything related to the Moon Lord.
Here’s the loot of your labor:
| Item | Drop Rate |
| Super Healing Potion (5 – 15) | 100% |
| Greater Healing Potion (5 – 15) | 100% |
| Moon Lord Trophy | 10% |
| Treasure Bag (Expert and Master Mode Contents) Gravity Globe Suspicious Looking Tentacle Celestial Starboard Moon Lord Mask Meowmere Terrarian Star Wrath S.M.D.G. Last Prism Lunar Flare Rainbow Crystal Staff Lunar Porta Staff Celebration Mk2 Celebration Portal Gun Luminite (90 – 110) Meowmere Minecart | 100% 100% 100% 100% 14.29% 22.2% 22.2% 22.2% 22.2% 22.2% 22.2% 22.2% 22.2% 22.2% 11.1% 100% 100% 10% |
| Piece of Moon Squid (Master Mode) | 25% |
| Moon Lord Relic (Master Mode) | 100% |
Events
Events spice up the world of Terraria; they can occur when certain conditions have been met. These have their unique enemies that spawn in waves in an attempt to make your life just a bit worse. Some events also have their bosses that spawn multiple times to provide awesome loot.
Pirate Invasion
Be wary of the pirates to come! The Pirate Invasion will cause your world to spawn hardy enemies with great booty to match! This event can be triggered randomly if a Demon Altar has been destroyed or manually with a Pirate Map.
As you defeat waves of pirates, you can collect unique drops from them, which can be useful for your adventures! You may also have to look out for the Flying Dutchman, a boss that will spawn after a certain time. This boss guarantees a drop when defeated.
Here’s the booty to expect during the event:
- Coin Gun
- Cutlass
- Discount Card
- Gold Ring
- Lucky Coin
- Pirate Staff
- The Dutchman
- Flying Dutchman Trophy
- Flying Dutchman Relic (Master Mode)
- The Black Spot
Solar Eclipse
The sun is dark, and the enemies awaken; a Solar Eclipse is upon us. This rare event triggers after a mechanical boss has been defeated with a 1/20 chance. Similar to the previous event, it can be triggered manually with a Solat Tablet. This event starts at dawn when the sun rises. It can be identified with a black sun rising or a status message appearing.
Same with any event, you must defeat a variety of enemies during its duration to finish it.
The loot to be expected is as follows:
- Eye Spring
- Broken Bat Wing
- Moon Stone
- Neptune’s Shell
- Steak
- Broken Hero Sword
- Mothron Wings
- The Eye of Cthulhu
- Death Sickle
- Butcher’s Chainsaw
- Deadly Sphere Staff
- Toxic Flask
- Nail Gun
- Psycho Knife
Pumpkin Moon
The spirit of Halloween is in the air, and frightening creatures will appear. Pumpkin Moon is a post-Plantera event summoned with a Pumpkin Moon Medallion. This event can only be triggered at night. Unlike other events, this has 20 waves you must complete before the night ends.
This event consists of two bosses, the Mourning Wood and Pumpking. Their spawn rates increase as you progress through the waves, so be prepared for a spooky time!
The loot that’ll drop is as follows:
- Spooky Wood
- Stake Launcher
- Stake
- Necromantic Scroll
- Spooky Hook
- Spooky Twig
- Cursed Sapling
- Mourning Wood Trophy
- Witch’s Broom (Expert and Master Mode)
- Mourning Wood Relic (Master Mode)
- Hexxed Branch (Master Mode)
- The Horseman’s Blade
- Raven Staff
- Bat Scepter
- Candy Corn Rifle
- Jack ‘O Lantern Launcher
- Black Fairy Dust
- Spider Egg
- Dark Harvest
- Pumpking Trophy
- Pumpking Relic (Master Mode)
- Pumpkin Scented Candle (Master Mode)
Frost Moon
Christmas may not be so jolly if you summon a Frost Moon event. This event is summoned with a Naughty Present, which you can craft with post-Plantera items. Expect blood in the snow, as this event is more difficult than the Pumpkin Moon.
This event has three bosses: Everscream, Santa-NK11, and the Ice Queen. Like the previous event, later waves increase their spawn rate until you’ve defeated the 20th wave.
Present to expect as you fight:
- Christmas Tree Sword
- Razorpine
- Festive Wings
- Christmas Hook
- Everscream Trophy
- Everscream Relic (Master Mode)
- Shrub Star (Master Mode)
- Elf Melter
- Chain Gun
- Santa-NK1 Trophy
- Santa NK1 Relic (Master Mode)
- Toy Tank (Master Mode)
- Blizzard Staff
- North Pole
- Snowman Cannon
- Baby Grinch’s Mischief Whistle
- Reindeer Bells
- Ice Queen Trophy
- Ice Queen Relic (Master Mode)
- Frozen Crown ( Master Mode)
Martian Madness
Aliens do exist! Well, at least here in Terraria. This event is a post-Golem invasion that will test your skills. The aliens show no mercy in disintegrating you to ash as they fire death beams. This event can be triggered when a Martian Probe detects a player or if you attack it.
The event will not occur if a player hasn’t reached 200 health, so keep that in mind.
This event showcases a single boss named the Martian Saucer. A quick aerial machine can kill you in one hit with its death ray. So be careful when you spot this foe.
Expect this out worldly loot:
- Brain Scrambler
- Laser Mabhinegun
- Xenonpopper
- Xeno Staff
- Cosmic Car Key
- Electrosphere Launcher
- Influx Waver
- Laser Drill
- Charged Blaster Cannon
- Anti-Gravity Hook
- Martian Saucer Trophy
- Martian Saucer Relic (Master Mode)
- Cosmic Skateboard (Master Mode)
Old One’s Army
If you like tower-defense-style games, then the Old One’s Army event might be right up your alley! This event is triggered when you place an Eternia Crytal on an Eternia Crystal Stand. This event is special as the difficulty ramps up as you defeat other bosses in the game. The hardest tier is activated when Golem has been defeated.
Due to the difficulty of this event, each time you attempt it, it will grant you Defender Medals to spend on the Tavernkeep NPC for better armor and weapons for this event.
Defeating the Army grants these drops:
- Defender Medal
- Etherian Mana
- War Table
- War Table Banner
- Dragon Egg
- Gato Egg
- Dark Mage Mask
- Dark Mage Trophy
- Darm Mage Relic (Master Mode)
- Dark Mage’s Tome (Master Mode)
- Apprentice’s Scarf
- Squire’s Shield
- Huntress’s Buckler
- Monk’s Belt
- Tome of Infinite Wisdom
- Phantom Phoenix
- Brand of the Inferno
- Sleepy Octopod
- Ghastly Glaive
- Creeper Egg
- Ogre Mask
- Ogre Trophy
- Ogre Relic (Master Mode)
- Ogre’s Club
- Flying Dragon
- Sky Dragon’s Fury
- Aerial Bane
- Betsy’s Wrath
- Betsy’s Wings
- Betsy Mask
- Betsy Trophy
- Betsy Relic (Master Mode)
- Betsy’s Egg (Master Mode)
Conclusion
Hardmode is vast in terms of the content Terraria offers. The bosses are harder than ever, and the loot is even greater! There’s a lot to explore and enemies to die to, so you better be prepared. This guide has gone through what to expect, so grab your weapons and explore your world!


